
Remote-RED for Home Assistant
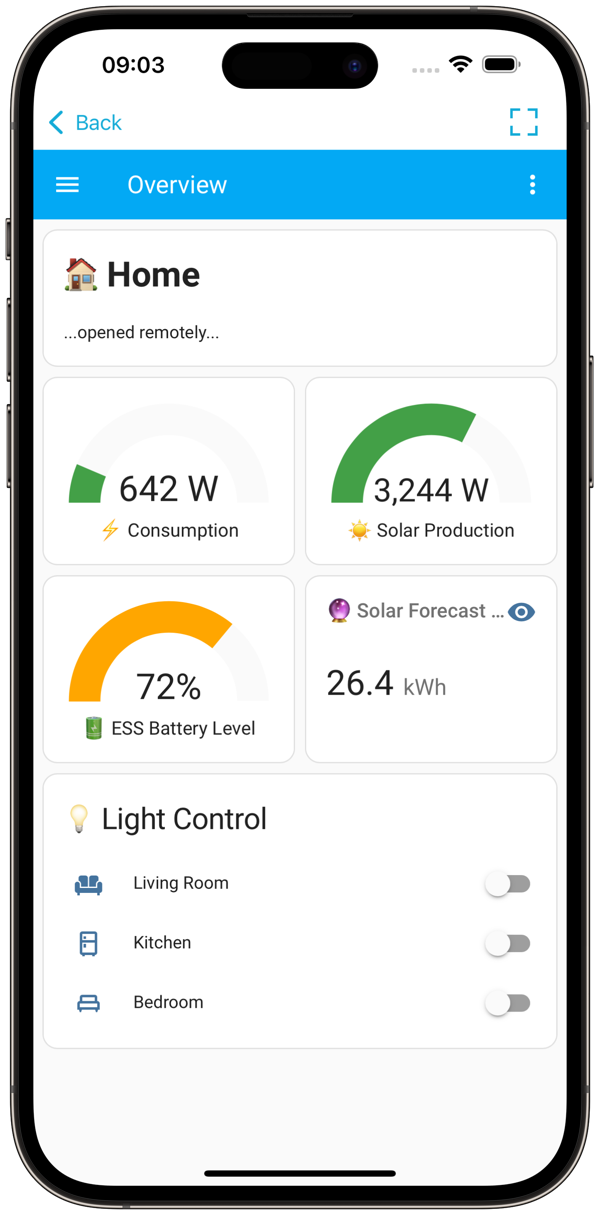
Two components are required to use Remote Assistant, the Remote-RED version for remote access to Home Assistant: a custom component within Home Assistant that opens the SSH tunnel to the Remote-RED servers and provides you with the access data, and the Android or iOS app. The app accesses the Remote-RED servers via the internet, which in turn redirect you to your Home Assistant dashboard at home.


Costs
Remote Assistant is financed via a single in-app purchase. It is only required after some time and then begins with a free trial week.
€ prices include 19% German VAT, $ prices are those of the US App Store. Actual prices may differ due to taxes, fees and discounts.
- 3 months€2.99 / $2.99
- 1 year€9.99 / $9.99
Set up the custom component in Home Assistant
You can install the "Remote Assistant" custom component in three different ways. Choose whichever suits you best: Installation and updates are possible via HACS and via a separate installer add-on. If you use Home Assistant Container or Core, you can install the custom component via a script.
Installing via HACS is ideal if you already have HACS installed. At the moment Remote Assistant is not in the default repository, but you can use this button to add the repository to HACS:

After adding the repository you can search for "Remote Assistant" and install it through HACS. If you haven't installed HACS yet, follow the official HACS User Documentation or use one of the other two ways below.
There is a separate add-on to install Remote Assistant and keep it up to date. First, add the repository. The easiest way is this button (you may need to enter your local Home Assistant IP address):

Or add the repository manually: in Home Assistant, go to "Settings > Add-ons" and open the "Add-on Store". Click the three dots at the top right and use "Repositories" to add https://github.com/Looking4Cache/home-assistant-remote-assistant-installer.
Then search for "Remote Assistant Installer" in the list, install it and start the add-on. The installation of the "Remote Assistant Custom Component" happens automatically, see the log for details.
The installer add-on checks daily for new versions of the Remote Assistant custom component. After installing or updating the custom component, a restart of Home Assistant is necessary. This happens automatically, but can be disabled in the add-on's configuration.
1. Connect to the terminal of your Home Assistant host.
Home Assistant Container: enter the Docker container with docker exec -it homeassistant bash (you may need to change "homeassistant" to the name of your container).
Home Assistant Core: change to the user that runs Home Assistant.
2. Run the installation script:
3. Restart Home Assistant.
Run this script again any time to update Remote Assistant. This doesn't happen automatically.
Configure the custom component
Before you can connect the app, you have to configure and start the custom component.
Add the integration
In Home Assistant go to "Settings > Devices and services > Integrations".
Search for Remote Assistant
Use "Add integration" and search for "Remote Assistant".
Select a server location
A location matching your country should already be preselected. Confirm with "OK" and wait a few seconds.
Scan the QR code
A QR code will be generated, which you'll need in the next step inside the app. Remote Assistant will start serving as soon as this dialog is closed. So wait with that until you've scanned the QR code.
Add the connection in the app
Install the app
Install the "Remote Assistant by Remote-RED" app from the Apple App Store or Google Play Store.
Add a Home Assistant instance
On the main page of the app there is the function "Add Home Assistant instance". The QR code scanner will open, which requires access to your camera. Simply scan the QR code from the last step and the connection will be established.
Troubleshooting
Not connected after scanning the QR code
The connection between Home Assistant and the Remote-RED servers is only established once you close the dialog with the QR code. Confirm the dialog with "OK" and wait a few seconds. The connection should then work.
API error within Home Assistant
The computer on which Home Assistant is installed needs internet access. If a "Network Error" or "API Error" is displayed when connecting an app, your Home Assistant computer most likely cannot reach the Remote-RED servers. If you use a firewall, port 443 (https) and port 22 (ssh) must be allowed outgoing.